Showing posts with label Dessert. Show all posts

Wednesday, November 28, 2018

Japanese Fruit Cake


I REMEMBER MY GRANDMOTHER MAKING this lovely celebration cake each year for the holidays. As a girl I thought this was the most impressive and beautiful cake I had ever seen! After my grandmother passed away, the cake stopped appearing at our holiday gatherings.

For years, I asked family members, especially some of the older aunts, if they had the recipe. I searched through old southern cookbooks.

Last summer, because she knows my interest in heirloom recipes, Mama gave me a cookbooklet she had found in some of her aunt's belongings. The booklet was published in 1952 by a community group in Chambers County, Alabama. Imagine my delight when I turned to the cake chapter and there was the recipe for Japanese Fruit Cake!


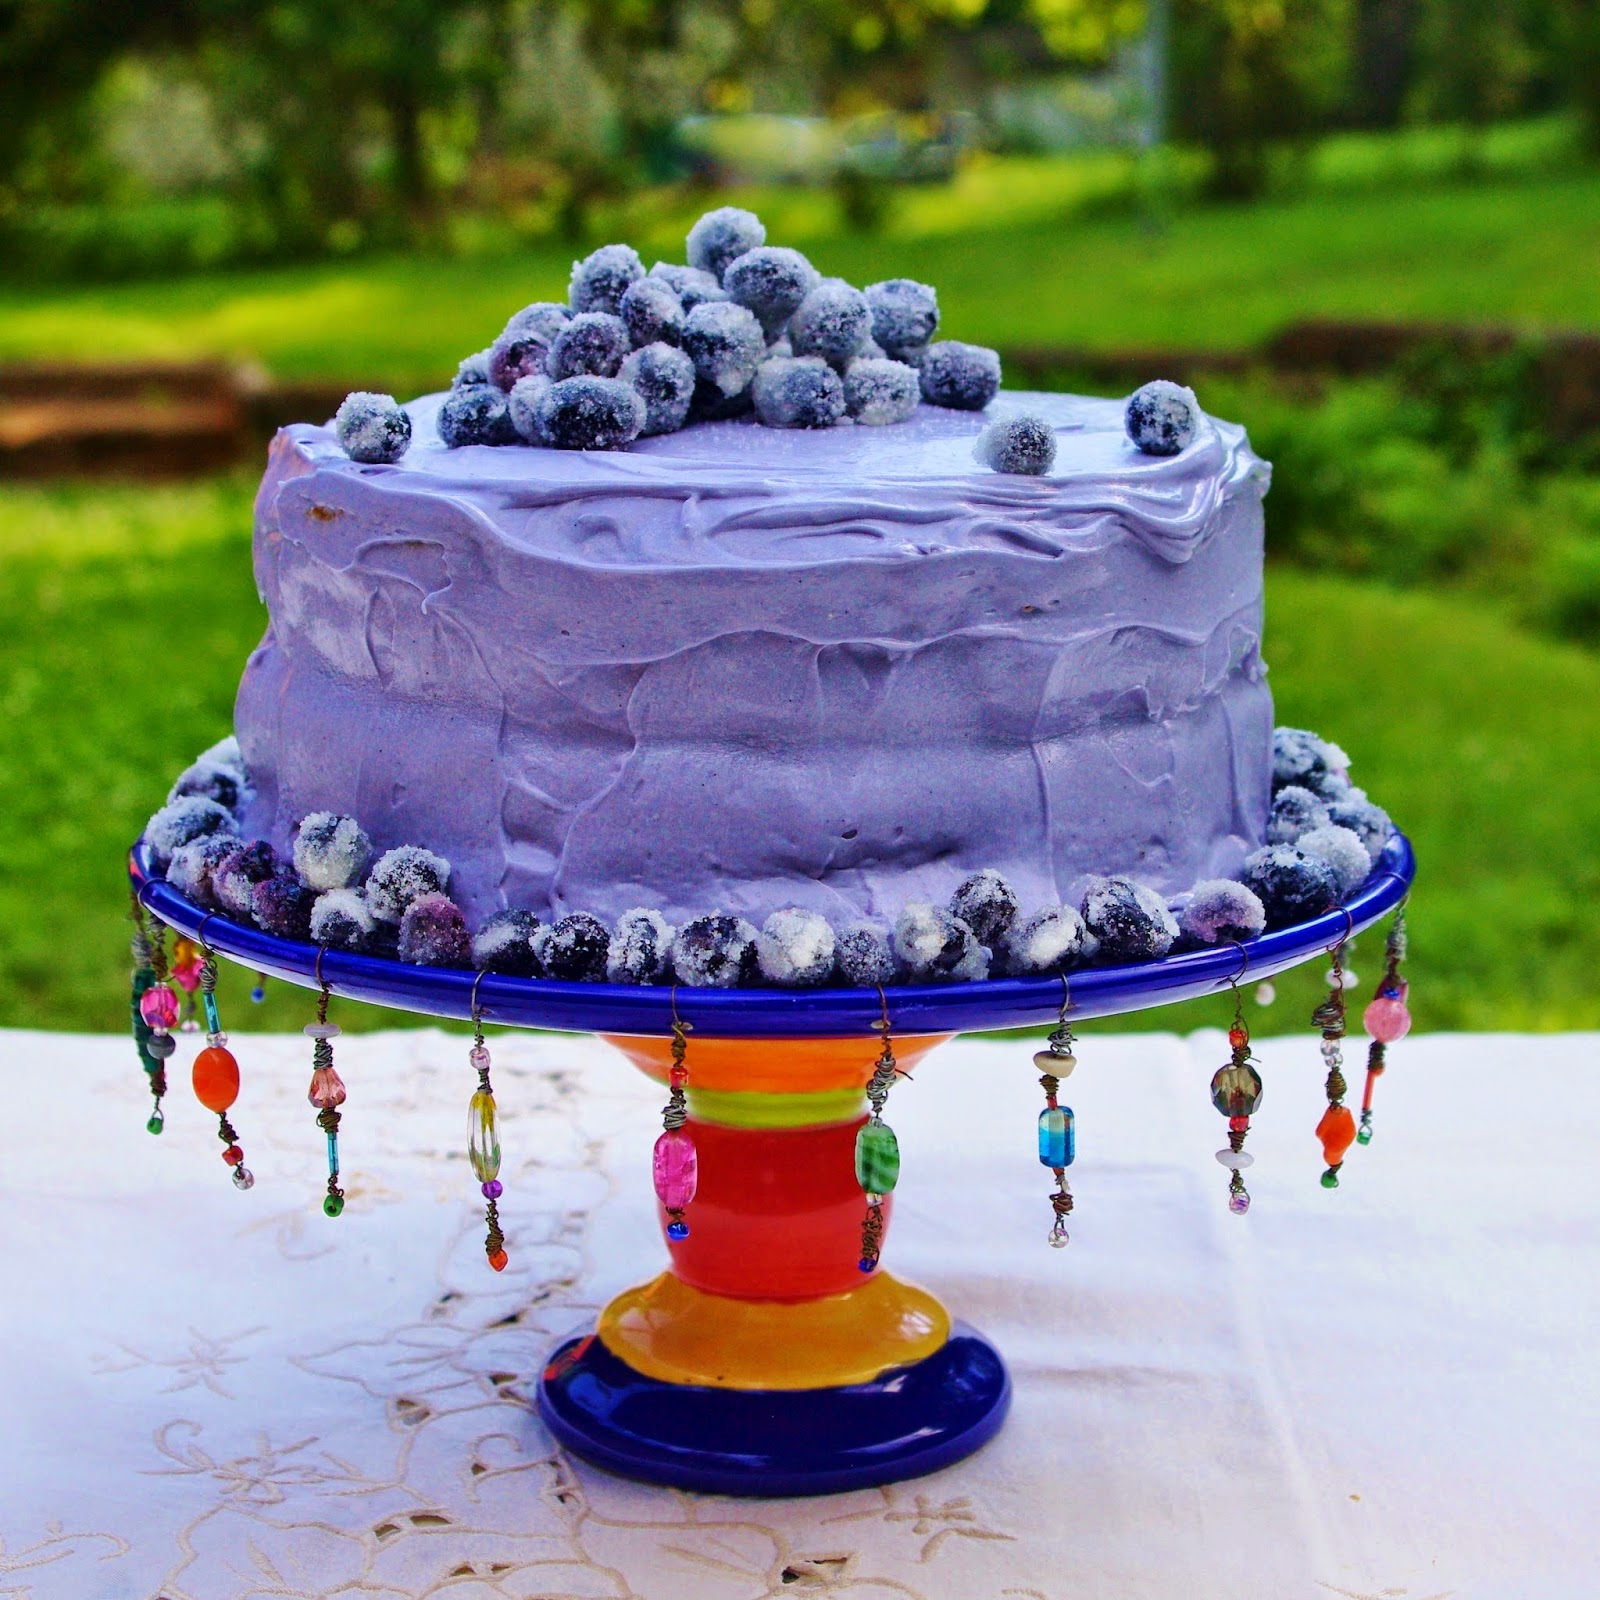
 I have no idea why this cake has such a mysterious name. I don't believe it is remotely Japanese and it is not a fruit cake in the traditional sense. The fruits in the cake are coconut, lemon, and raisins. There are two moist and fluffy yellow layers and two spice layers with pecans, raisins, cinnamon and allspice. The cake is topped with a luscious lemony coconut glaze.

I loved making this cake!


Japanese Fruit Cake
3 cups cake flour
2 tsp. baking powder
1/2 tsp. salt
1 cup chopped raisins
1 cup chopped pecans
1 1/2 tsp. cinnamon
1 1/2 tsp. allspice
1 cup (2 sticks) butter, softened
2 cups sugar
4 eggs
1 tsp. vanilla
1 cup milk

Preheat oven to 350 degrees. Generously butter and flour four 8-inch cake pans.

Combine the flour, baking powder, and salt in a medium bowl. In another bowl, combine the chopped raisins, pecans, cinnamon, and allspice.

I mixing bowl, combine butter and sugar; beat with mixer to combine them well. Add eggs one and a time, beating after each addition, to make a smooth, fluffy mixture.

Stir the vanilla into the milk. Add about half the flour mixture, the half the milk, beating at low speed just until combined. Repeat with remaining flour mixture and milk.

Divide half the batter between 2 of the pans. Stir the raisin and spice mixture into the remaining batter. Divide this mixture between the remaining 2 pans. Set all 4 pans in the oven.

Bake at 350 degrees for 20 to 25 minutes, until the layers are golden brown, pulling away from the sides of the pans, and spring back when touched lightly in the center. Cool the cakes on wire racks for 10 minutes, and then turn them out onto the wire racks to cool completely, top side up.

Lemon Coconut Icing
1 cup water
2 cups sugar
1/4 cup fresh lemon juice
1 Tbsp. grated lemon zest
3 1/2 cups (approx.) frozen shredded coconut
2 Tbsp. cornstarch
1/2 cup water

In heavy, medium saucepan, bring 1 cup water to a boil over medium heat. Stir in the sugar, lemon juice and zest, and the coconut. Bring to a boil. Adjust heat to maintain a gentle boil, and cook for 7 minutes, stirring occasionally. Stir cornstarch into the 1/2 cup water, stir well and add to the pan, mixing to dissolve. Simmer for 3 to 4 minutes, stirring often, until thickened and clear. Transfer to a bowl and cool to room temperature, stirring from time to time.

To assemble the cake, place a plain layer, top side down, on a cake stand, or serving plate. Poke little holes all over and spread about one fourth of the icing over the layer, spreading all the way to the edges. Place a spice layer over the icing and spread another 1/4 of the icing. Continue layering with the remaining layers and icing. Place the last spice layer, right side up and pour all the remaining icing over the layer so that some of the icing cascades down the sides of the cake. Let stand for several hours, then cover and refrigerate overnight. Remove cake from refrigerator about 1 hour before serving.


Wednesday, April 22, 2015

Carrot Cupcakes with Pineapple and Golden Raisins topped with Cream Cheese Frosting


I was asked to bring a healthy dessert for a meeting. Is that an oxymoron?

My habit of over thinking things had me wondering. Isn't dessert the final course of a meal? Wouldn't healthy dessert be the quintessential fruit and nuts?


I knew this group wanted a treat, a goody and not a tray of fruit and nuts. I started thinking about my longstanding desire to include at least some nutritional value in the sweets I make--fruit pies, oatmeal cookies, rice pudding, parfaits. (This is not to be confused with celebrations. . .birthday cakes, Christmas cookies).


Personally, I am not a sweetie. Even as a child, I always preferred savory tastes. But I do love to cook and bake. And I love seeing people appreciating my efforts. These cupcakes made the group very happy and that made me happy.

Another way to steer sweets towards a healthier horizon is through portion control; thus the cupcakes rather than an entire cake.


Carrot Cupcakes with Pineapple and Golden Raisins
2 cups flour
1 1/2 cups sugar
2 tsp. baking powder
1 tsp. salt
1 tsp. cinnamon
1 (3 oz.) package cream cheese, room temperature
2 Tbsp. sugar
1 egg yolk
Pinch of salt
1/4 cup finely chopped pineapple
4 eggs, room temperature
3 cups finely shredded carrots (about 6 medium)
3/4 cup vegetable oil
1 tsp. vanilla
1/2 cup golden raisins

Line 24 muffin cups with paper cupcake liners. Preheat oven to 350 degrees.

In a large bowl stir together the flour, 1 1/2 cups sugar, baking powder, 1 tsp. salt, and the cinnamon. Set aside.

For the filling, in a mixer bowl combine cream cheese and 2 Tbsp. sugar. Beat with and electric mixer on medium speed until combined. Beat in the egg yolk and a pinch of salt. Fold in the pineapple. Set aside.

In another bowl stir together 4 eggs, the carrots, oil, and vanilla.

Add carrot mixture to flour mixture and stir until combined. Fold in golden raisins.

Spoon about 1 tablespoon of the batter into each muffin cup. Drop about 1 rounded teaspoon of the cream cheese mixture into each muffin cup. Spoon the remaining batter over cream cheese mixture in cups.

Bake for 15 - 20 minutes or until a toothpick inserted in centers comes out clean. Cool cupcakes in muffin cups on wire racks for 5 minutes. Remove cupcakes from muffin pans and cool completely on wire racks.

Frost with Cream Cheese Frosting and store in refrigerator.

Cream Cheese Frosting
8 oz. cream cheese, softened
1/2 cup butter, softened
2 tsp. vanilla
5 1/2 cups powdered sugar

In a mixing bowl beat cream cheese, butter, and vanilla with an electric mixer on medium speed until light and fluffy. Gradually beat in powder sugar to reach desired spreading consistency.


Wednesday, July 23, 2014

Raspberry Swirl Cheesecake


 WHEN PRITCHARD PARKER CAME HOME WITH A BASKETFUL of raspberries, my imagination quickly got busy dreaming up ways to appreciate them. We ate many, simply rinsed and enjoyed au naturel, and is there really any better way to savor fresh, summer fruit? I made some into smoothies. Some are frozen for later use.


After I fixed on the idea of using raspberries in a cheesecake, I considered my options. I thought of adding raspberry puree directly into the cream cheese mixture to make a raspberry-scented pink cheesecake. And maybe I would even top it with a chocolate ganache? Or perhaps I would make a plain cheesecke and top it with a raspberry sauce?

Ultimately, I decided to make this Raspberry Swirl Cheesecake because I thought it was so lovely.


This cheesecake does involve several steps beginning with making a graham cracker crust, which involves crushing graham crackers, melting butter, mixing, pressing it into the springform pan and baking until set.

The cream cheese and eggs need to be at room temperature.

A roasting pan is needed for a water bath, also boiling water needs to be at the ready. (I don't have a roasting pan big enough to contain my springform pan, so I used one of those disposable pans from the grocery store and tossed it into the recycling bin once I was finished).

A raspberry puree is made by processing the raspberries in the blender until smooth and  pressing them through a strainer to remove the seeds.

The cheesecake needs to be refrigerated for several hours before unmolding and serving.


Raspberry Swirl Cheesecake
(A Martha Stewart Recipe)
1 cup finely ground graham crackers
2 tablespoons unsalted butter, melted
1 3/4 cups sugar
6 ounces raspberries
32 ounces cream cheese, room temperature
Pinch of salt
1 teaspoon pure vanilla extract
4 large eggs, room temperature
Boiling water, for roasting pan

Preheat oven to 350 degrees. Wrap exterior of a 9-inch springform pan (including base) in a double layer of foil; set aside.

Stir together cracker crumbs, melted butter, and 2 tablespoons sugar in a medium bowl. Press crumb mixture firmly onto bottom of pan. Bake until set, about 10 minutes. Let cool in pan on a wire rack. Reduce oven temperature to 325 degrees.

Process raspberries in a food processor until smooth, about 30 seconds. Pass puree through a fine sieve into a small bowl; discard solids. Whisk in 2 tablespoons sugar, and set aside.

Put cream cheese in the bowl of an electric mixer fitted with the paddle attachment; mix on medium speed until fluffy, about 3 minutes. With mixer on low speed, add remaining 1 1/2 cups sugar in a slow, steady stream. Add salt and vanilla; mix until well combined. Add eggs, one at a time, mixing each until just combined (do not overmix). Pour cream cheese filling over crust.

Drop raspberry sauce by the teaspoon on top. With a wooden skewer or toothpick, swirl sauce into filling.

Set cake pan inside a large, shallow roasting pan. Transfer to oven. Carefully ladle boiling water into roasting pan to reach halfway up sides of cake pan. Bake until cake is set but still slightly wobbly in center, 60 to 65 minutes.

Transfer cake pan to rack; let cake cool completely. Refrigerate, uncovered, 6 hours or overnight. Before unmolding, run a knife around edge of cake.


Wednesday, July 2, 2014

Cherry Eton Mess


MY AUNT AND UNCLE HAD A VAST CHERRY TREE which grew right beside their house. As a girl, I could climb from their second story porch right into that great tree.

Every summer, our family would pile into the car for our annual trek from our home in Alabama to visit my Dad's hometown in Akron, Ohio. There we would split up and move from relative to relative, spending time with each.

My cherry tree uncle was a trucker so he was away from home a lot. But I loved spending time with my aunt and their five (5!) rowdy sons. Their home was loud, messy, and chaotic. The only thing she ever said to me while I was eating cherry after cherry after cherry while sitting in the tree, was a warning that if I kept it up, I would have a tummy ache. I paid her no regard, thinking the joy of eating a seemingly endless supply of cherries, fresh, juicy, and warm, straight from the tree would be worth it.

I never had a problem digesting all those cherries. And when I think about it now, I know my own mother would have been worried about much more than stomach troubles if she had ever seen me perched high in the branches of that mighty tree.


Eton Mess is an English dessert made with baked meringue cookies, strawberries, and cream. I made mine with fresh cherries.

I had some meringues, which store beautifully in an airtight container, leftover from making my Tapioca Pudding. You can see a recipe here.

I love homemade whipped cream. It is super, super simple to make.  It was one of the tasks my mother handed over to me when I was just a little girl. I would make it using an old-style, hand, rotary mixer. You know if a little girl can make it, you can too.  Here is a recipe.


Cherry Eton Mess
Fresh cherries, washed, pitted, and halved
Meringue cookies
Freshly whipped and sweetened cream

Layer, as desired, crushing some of the meringues if you wish, in a pretty glass. Garnish with a whole cherry.


Wednesday, June 11, 2014

Tapioca Pudding with Benefits


SOMETIMES A RICH AND CREAMY DESSERT which is not too sweet is just perfect. Cheesecake, creme brulee, mousse, and puddings all fall into this category.

Tapioca Pudding is an old fashioned and cheering concoction with a delightful texture. The tapioca pearls are bubbly but not effervescent. Not quite jellied. Yet the bubbles are smooth and slippery rolling around in the mouth.

Because the pudding is made with egg yolks, the benefit is that the unused egg whites can be made into meringue cookies. The light and airy crispiness of the dainty meringues is a perfect complement to the smoothness of the pudding.


Tapioca Pudding
For the Crock Pot, Adapted from Alton Brown
1/2 cup large pearl tapioca
2 cups cold water
2 1/2 cups milk
1/2 cup heavy cream
Pinch of salt
2 egg yolks
1/3 cup sugar
1 tsp. vanilla

Place tapioca in a medium bowl and cover with water. Cover and let soak overnight.

Drain water from tapioca. Place the tapioca into a slow cooker, along with the milk, heavy cream, and pinch of salt. Cook on high for 2 hours, stirring occasionally.

In a small bowl, whisk together the egg yolks, sugar, and vanilla. Temper small amounts of the tapioca into the egg mixture until you have added at least 1 cup. Then add this back into the remaining tapioca in the slow cooker. Cook for an additional 15 minutes, stirring at least once.

Transfer the pudding to a bowl and cover the surface with parchment paper. Allow to cool at room temperature for 1 hour and then place in the refrigerator until thoroughly chilled.


Meringue Cookies
2 egg whites, room temperature
pinch cream of tartar
1/2 cup sugar
1/2 tsp. vanilla

Preheat oven to 200 degrees. Line 2 large baking sheets with parchment paper.

Beat egg whites and cream of tartar with an electric mixer until soft peaks form. Slowly add sugar, about 1 tablespoon at a time, until all sugar has been added. Continue beating until the whites are stiff and glossy. Add vanilla and beat for 30 seconds more.

Pipe or spoon the meringue into 1 1/2-inch-diameter cookies, spacing them about 1/2 inch apart.

Bake the cookies until dry and crisp throughout, about 1 1/2 hours. Transfer the pans to racks and let the cookies cool.


Wednesday, May 28, 2014

Lemon Pound Cake with Blueberry Cream Cheese Frosting Decorated with Sugared Blueberries


 IN HONOR OF THE RETREAT I ATTENDED last week (Camp Bluebird), to celebrate summer, my favorite season, and to debut the kooky and festive cake stand that followed me home from an estate sale,  I present you with Lemon Pound Cake with Blueberry Cream Cheese Frosting decorated with sugared blueberries.


Several steps were involved in making this cake, including zesting and juicing fresh lemons, preparing a lemon syrup, pureeing and straining fresh blueberries, and making  sugared blueberries so they can be set aside to dry. Those are details I like to go ahead and put behind me before even beginning the cake baking process.

The butter, eggs, buttermilk, and cream cheese all need time to come to room temperature so plan accordingly. The cake layers need time to cool completely before frosting.


To make sugared blueberries, rinse and dry fresh, plump blueberries. Beat one egg white along with a teaspoon of cold water until very frothy, but not stiff. Pour as many blueberries as you want for decorations into the egg white mixture. Roll each blueberry, individually,  in sugar and set onto a board to dry for at least 2 hours.

For blueberry puree, blend about 8 ounces of fresh blueberries in a blender. Strain out the solids in order to make a completely smooth frosting. Use leftover blueberry puree for making smoothies.


Lemon Pound Cake
1/2 pound (2 sticks) butter, room temperature
2 cups sugar
4 eggs, room temperature
1/3 cup grated lemon zest
3 cups flour
1/2 tsp. baking powder
1/2 tsp. baking soda
1 tsp. salt
3/4 cup buttermilk
1 tsp. vanilla

Preheat oven to 350 degrees. Grease and flour 2 (8-inch) cake pans.

Cream butter and sugar, with electric mixer, until light and fluffy, about 5 minutes. Add eggs, one at a time, mixing well after each addition. Stir in the lemon zest.

Sift together the flour, baking powder, baking soda, and salt in a bowl. Add the flour and buttermilk alternately to the batter, beginning and ending with the flour. Blend in vanilla.

Divide the batter evenly between the prepared pans and smooth top. Bake for 35 to 45 minutes or until a toothpick inserted in the center comes out clean. Let cool in pans for 10 minutes. Turn out onto cooling racks set over wax paper.

While cakes are baking, make a lemon syrup by combining 1/2 cup sugar with 1/2 cup lemon juice in a small saucepan. Cook over low heat until the sugar dissolves. Spoon over the cakes on the cooling racks, then let the cakes cool completely before frosting.

Blueberry Cream Cheese Frosting
8 oz. (1 stick) butter, softened
8 oz. cream cheese, softened
3 Tbsp. blueberry puree
1 tsp. vanilla
pinch of salt
4 cups powdered sugar, as needed

Whip butter and cream cheese with an electric mixer until very pale and creamy, about 8 minutes. Mix in blueberry puree and vanilla. Add powdered sugar, 1 cup at a time, and beat well until fluffy. If the frosting is too stiff add a little blueberry puree; if too thin, add more powdered sugar. Use about a cup of frosting between the cake layers and the remaining for the top and sides of the cake.

My frosting was a little more oozy than I usually like it because I was trying to achieve a vibrant blueberry color. I used more puree and less sugar than I would have used if I'd wanted to pipe frosting onto the cake.

Decorate with sugared blueberries.


Tuesday, April 22, 2014

A Very Old-Fashioned Southern Coconut Icing


AT 85-YEARS-OLD, my Mother still loves to entertain.  She had an Easter brunch for 16 people and when she half-heartedly invited me, she didn't think I would really make the trip. After thinking for a while, and talking to my husband about it, I decided, sure why not?

With only three days notice, I made an 800 mile round trip which included driving twice through the sprawling hellscape of Atlanta. Everyone in the Southeast knows about "driving through Atlanta". The people who live in Atlanta know about "driving through Atlanta".


When I got to Mama's, she asked me to make the cake. In an old box of recipes, she had found her own Mother's tattered, yellowed, hand-written recipe for coconut cake.  That makes this recipe at least a hundred years old.

The actual cake was a basic pound cake. It is topped with a unique, cooked icing. A sturdy cake is needed to stand up to this icing (not frosting) which is substantial and glaze-like. Poke some holes in the cake before spooning on the hot icing and also let it run down the sides. Don't let the cake's homely appearance dissuade you; this is a scrumptious cake, which tastes even better the second day.


Mama is not only a fabulous cook, she grows her own flowers for decorations and sets a beautiful table. The menu included baked ham, scrambled eggs, baked cheese grits, fruit salad, roasted asparagus with olive oil and lemon, and fluffy homemade rolls.

It was a wonderful party!


Old-Fashioned Southern Coconut Icing
1 1/2 cups milk
3 cups sugar
1/2 cup (4 oz.) butter
2 cups fresh (or frozen and thawed) grated coconut

In a heavy 3 quart saucepan, bring the ingredients to a boil over medium heat. Cook and stir until thickened, about 15 - 20 minutes. Stir in coconut and continue cooking until thick, about another 10 minutes.

Place one cake layer on a serving plate. Prick it several times with a toothpick then spoon over about one third of the hot icing. Top with the other cake layer, prick a few holes, and evenly pour over the remaining icing letting it drip down the sides of the cake.


Tuesday, March 18, 2014

German Chocolate Cake


SUCH A MAN CAKE, the German Chocolate Cake, don't you think? Because it is my husband's favorite cake, I'm always looking at others' recipes for it. I recently saw a magnificent looking specimen, complete with three layers soaked in a rum syrup, and a chocolate frosting in addition to the buttery, coconut and toasted pecan filling. It was gorgeous I tell you.

The thing is, see that wedge of cake missing in the photos? Pritchard Parker ate that much after dinner last night and he couldn't do that with a richer one. This cake is simple, light, and not too sweet; just the thing for a weeknight dessert. Perhaps on a special occasion, I will go all out and make the deluxe version.


I make this, my husband's favorite cake to follow his favorite meal of the year--corned beef and cabbage. I made both yesterday.

This year's dinner afforded me a few culinary challenges opportunities. The first was the fact that it was snowing. Undaunted, I put on my coat and drove to the grocery store. On my way, I told myself not to go to my regular store because they sold out of corned beef last year. No, I told myself, they wouldn't be out again. Surprise, they had no corned beef. So I parked my buggy, went back out into the snow and drove to the other store, the one I don't like.

I got back home with corned beef and the rest of the items on my list. I set the groceries in the kitchen and went to change clothes. When I walked back to the kitchen, I smelled something bad. I started sniffing and realized the odor was coming from my shopping bags. Upon further sniffing and inspection, I discovered there was a rotten potato in the bag of them I had just bought.

Ugh. Gag. You know that horrible smell, right?  And so I had to deal with that.

Later, while the corned beef was cooking and I was on the phone talking to my Mother with my Mother talking to me, I smelled something else bad. I sniffed: she talked. Suddenly, I realized the beef was burning and rushed to the kitchen.

After much aggravation, I was able to salvage the dinner and it turned out to be delicious. I do, however, still have that burned pan soaking in the kitchen.

Fortunately, things went smoothly when I made the cake, which I had done earlier in the day.


German Chocolate Cake
2 1/4 cups all purpose flour
1 1/2 cups sugar
1 1/2 tsp. baking soda
1/4 tsp. salt
1 cup butter, room temperature
1 cup sour cream
4 eggs
4 oz. sweet baker's chocolate, melted
1/2 cup milk
3/4 tsp. vanilla

Combine all ingredients in a large mixing bowl and beat with an electric mixer, on low speed, until blended. Increase speed to high and beat for an additional 2 minutes. Pour batter evenly into two 8" or 9" cake pans, which have been greased and floured. Place into a preheated 350 degree oven for about 35 minutes, until a toothpick inserted into center comes out clean. Remove cakes to wire racks to cool.

German Chocolate Icing
3/4 cup evaporated milk
1/2 cup light brown sugar
1/2 cup butter
1 1/2 cups shredded coconut
1 cup pecans, roasted, chopped

In a saucepan set over medium heat, bring milk, butter, and brown sugar to a full boil. Remove from heat and stir in coconut and pecans.

When both the cake and the icing are completely cool, place one cake layer on a cake plate. Spread half the icing onto the layer. Top with remaining cake layer and icing.


Pritchard Parker found this 1960's cake plate and cover at one of his stores.


Saturday, March 15, 2014

Apple Amber


GRATED APPLES ARE COOKED briefly before baking in this traditional Irish dessert. Apple Amber (don't you love the name) is a lightly sweetened apple mousse topped with meringue and can be made with or without a crust.


Any apples can be used to make this pie. I used three different varieties--Fuji, Pinata, and Opal because that is what was in my fruit bowl.


Apple Amber
Pastry dough for single pie crust
4 medium apples (about 1 1/2 lbs.)
2 Tbsp. water
Juice of 1 lemon
3 large eggs, separated
3/4 cup sugar, or to taste, divided

Line pie dish with the pastry dough and set aside. Preheat oven to 350 degrees.

Grate the apples on a coarse grater. Put the water in a heavy pot and heat until steaming. Add the apples and cook over medium heat until reduced to a puree, about 15 minutes. The apples do not have to completely disappear into the puree; some texture is fine. Remove from heat.

Beat egg yolks slightly. Add the lemon juice and 1/2 cup sugar to the apple puree, then add the egg and stir well. Spoon the mixture into the pie shell and bake for 20 minutes.

Meanwhile, start beating the egg whites, adding 1/4 cup sugar gradually as you continue beating. Whip until stiff peaks form. When the pie has baked 20 minutes, remove it from the oven and spread the meringue over the top of the pie. Return to the oven for another 10 to 15 minutes, or until nicely browned.


Serve hot or cold.


Rather than spread the fluffy egg whites on the pie, I piped on little mounds of meringue.


I love the little landscape it created.


Wednesday, March 12, 2014

Magic Cake


MAGIC CAKE CYCLED through the food blog circuit about a year ago. I was intrigued by these pretty little squares and finally decided to try them out.

One thin batter really does separate into three different layers during baking, but I would not necessarily call it cake. Perhaps "Chiffon Custard" more accurately describes it but I really love the name, "Magic Cake"

The recipe is rather fussy to make; you must separate eggs, beat the whites separately, warm the milk, melt butter. I enjoy this type of baking and I will make this recipe again, maybe with a twist next time, but this is not something to make in a hurry.  Also, it needs to cool for at least 2 hours before cutting.

Magic Cake
4 eggs, separated, room temperature
3/4 cup sugar
1/2 cup butter, melted
1 tsp. vanilla
3/4 cup flour
2 cups warm milk
Powdered sugar for dusting

Preheat oven to 325 degrees. Grease a 8 x 8 inch baking dish.

Beat egg whites until stiff and set aside.

Beat egg yolks and sugar until light. Add melted butter and vanilla and continue beating another minute or two. Add flour and mix well.

Slowly add the milk (milk must be warm or the butter will seize up) and mix until well combined. Add the stiffened egg whites to the batter, one third at a time, gently folding in each addition with a spatula.

Pour batter into prepared baking dish and bake for 50 - 60 minutes, until the top is golden brown and the cake is no longer jiggly.

Cool completely before cutting into squares. Dust with powdered sugar.


Wednesday, February 5, 2014

Baklava


GREAT NEWS! BAKLAVA is easy to make.

If a restaurant we choose is open all afternoon, and many are not, we often like to dine around three or four o'clock for a late lunch early dinner. It seems to fit our schedule and we are hungry then. The restaurant will be quieter and we can linger without feeling pressured to turn the table.

On a recent afternoon, at a neighborhood Greek Restaurant, we arrived at the same time a woman was delivering desserts. Pritchard Parker spotted the tall dark chocolate cake. I spied the tray of Baklava.


I hadn't eaten Baklava in years and I knew before I ordered that I was going to save room for dessert. Indeed, I loved that little morsel of buttery phyllo with sticky cinnamon scented chopped nuts.

I told my husband on the way home I was going to try my hand at Baklava. I even had a box of phyllo dough in the freezer. And nuts leftover from Christmas baking.


I looked at many recipes before proceeding. Some had too much butter and some too little. Some used bread crumbs mixed in with the nuts but I didn't like that idea. Some used too much or too little syrup.

Working with phyllo is not as difficult as some people want you to think. It is very thin and tears easily but it is also extremely forgiving. The final result matters not if some of your sheets tore; just fit the pieces in the pan and keep going.

Phyllo sheets also dry out quickly, so keep them covered with a piece of parchment then a damp towel as you work.

Some recipes also tell you to cut the phyllo leaves to fit your pan. Nay, I say. What are you going to do the the excess? Phyllo is not cheap, so just wrinkle, fold, pleat, scrunch, and make them fit--the more layers the better.

Taking concepts from different recipes, this is what I did.


Baklava
One (1 pound) box frozen phyllo dough
1 cup butter, melted
4 cups chopped nuts (I used a mixture of pecans, walnuts, almonds, pistachios)
1 tsp. ground cinnamon
1 tsp. tangerine zest
2 cups sugar
2 cups water
1/2 cup honey
1 tsp. vanilla
2 Tbsp. freshly squeezed lemon juice
2 large strips tangerine peel
1 cinnamon stick

Move phyllo from the freezer to the refrigerator 24 hours before you want to make the Baklava. Remove from the refrigerator 1 hour before.

Preheat oven to 350 degrees. Melt butter.

Combine the nuts and ground cinnamon.

Open and carefully unfold the phyllo sheets. Lie flat and cover first with a sheet of parchment then a damp kitchen towel.

Using a clean (preferably new) pastry brush, butter the bottom of a 13x9 inch baking dish. Remove one sheet of pastry from the stack and fit into the pan. Brush with butter. Repeat until about one-fourth of the sheets have been used. Top with about one-third of the nuts. Then start layering more phyllo sheets, buttering each one. Proceed in this manner, making 4 layers of buttered phyllo and 3 layers of chopped nuts, ending with a layer of pastry. If you have an odd number of sheets in your box, layer more at the bottom of the dish to make a good foundation.

Cut through all layers into serving pieces before baking. If you want traditional diamond shapes, cut diagonally from corner to corner.

Bake for 50-60 minutes until golden brown.

Meanwhile, make the syrup: combine sugar, water, honey, vanilla, lemon juice, tangerine peel, and cinnamon stick. Bring to a boil, reduce heat and simmer for about 15 minutes until slightly thickened.

Remove the Baklava from the oven and evenly pour the syrup over the top. Let set for several hours for the syrup soak into the layers before serving. Better the next day.

Lightly cover the pan with wax paper or parchment for storage; don't seal or it will become soggy.